Painting your home’s exterior trim can enhance its curb appeal and protect the wood from the elements. However, achieving a professional-looking finish requires careful preparation and the right techniques. At Double Diamond Painting Pros, we’ve mastered the art of exterior trim painting, and we’re here to share our expert tips with you. Follow this step-by-step guide to give your trim a fresh, polished look.
Step 1: Gather Your Supplies
Before you begin, make sure you have all the necessary supplies:
- Exterior paint (high-quality, weather-resistant)
- Primer (if needed)
- Painter’s tape
- Drop cloths
- Sandpaper (120-150 grit)
- Putty knife
- Caulk and caulk gun
- Paint scraper
- Wire brush
- Paintbrushes (angled for trim)
- Ladder
- Safety goggles and gloves
Step 2: Prepare the Area
Preparation is crucial for a smooth, long-lasting finish:
- Clean the Trim: Use a mixture of water and exterior cleaner to clean the trim, removing dirt, mildew, and debris. Most paint stores will carry a pre mixed solution for this. Rinse thoroughly and allow it to dry completely.
- Scrape and Sand: Use a paint scraper and wire brush to remove loose or peeling paint. Sand the surface with medium-grit sandpaper to smooth out rough areas and ensure proper paint adhesion.
- Repair Damage: Inspect the trim for any damage. Fill holes and cracks with exterior wood filler or caulk. Use a putty knife to smooth the filler, and sand it once it’s dry.
- Protect Surrounding Areas: Apply painter’s tape to adjacent surfaces to protect them from paint splatters. Cover the ground and any nearby plants with drop cloths.
Step 3: Prime the Trim
Priming is essential, especially if you’re painting over bare wood or dark colors:
- Choose the Right Primer: Use a high-quality exterior primer suitable for your trim material. Primers help seal the wood, cover stains, and provide a solid base for the paint.
- Apply the Primer: Using an angled brush, apply a thin, even coat of primer to the trim. Allow it to dry according to the manufacturer’s instructions. Lightly sand the primed surface to remove any brush marks or raised grain.
Step 4: Paint the Trim
With your trim properly prepped and primed, it’s time to paint:
- Select the Paint: Choose a high-quality exterior paint designed to withstand weather conditions. Semi-gloss or gloss finishes are ideal for trim as they are durable and easy to clean.
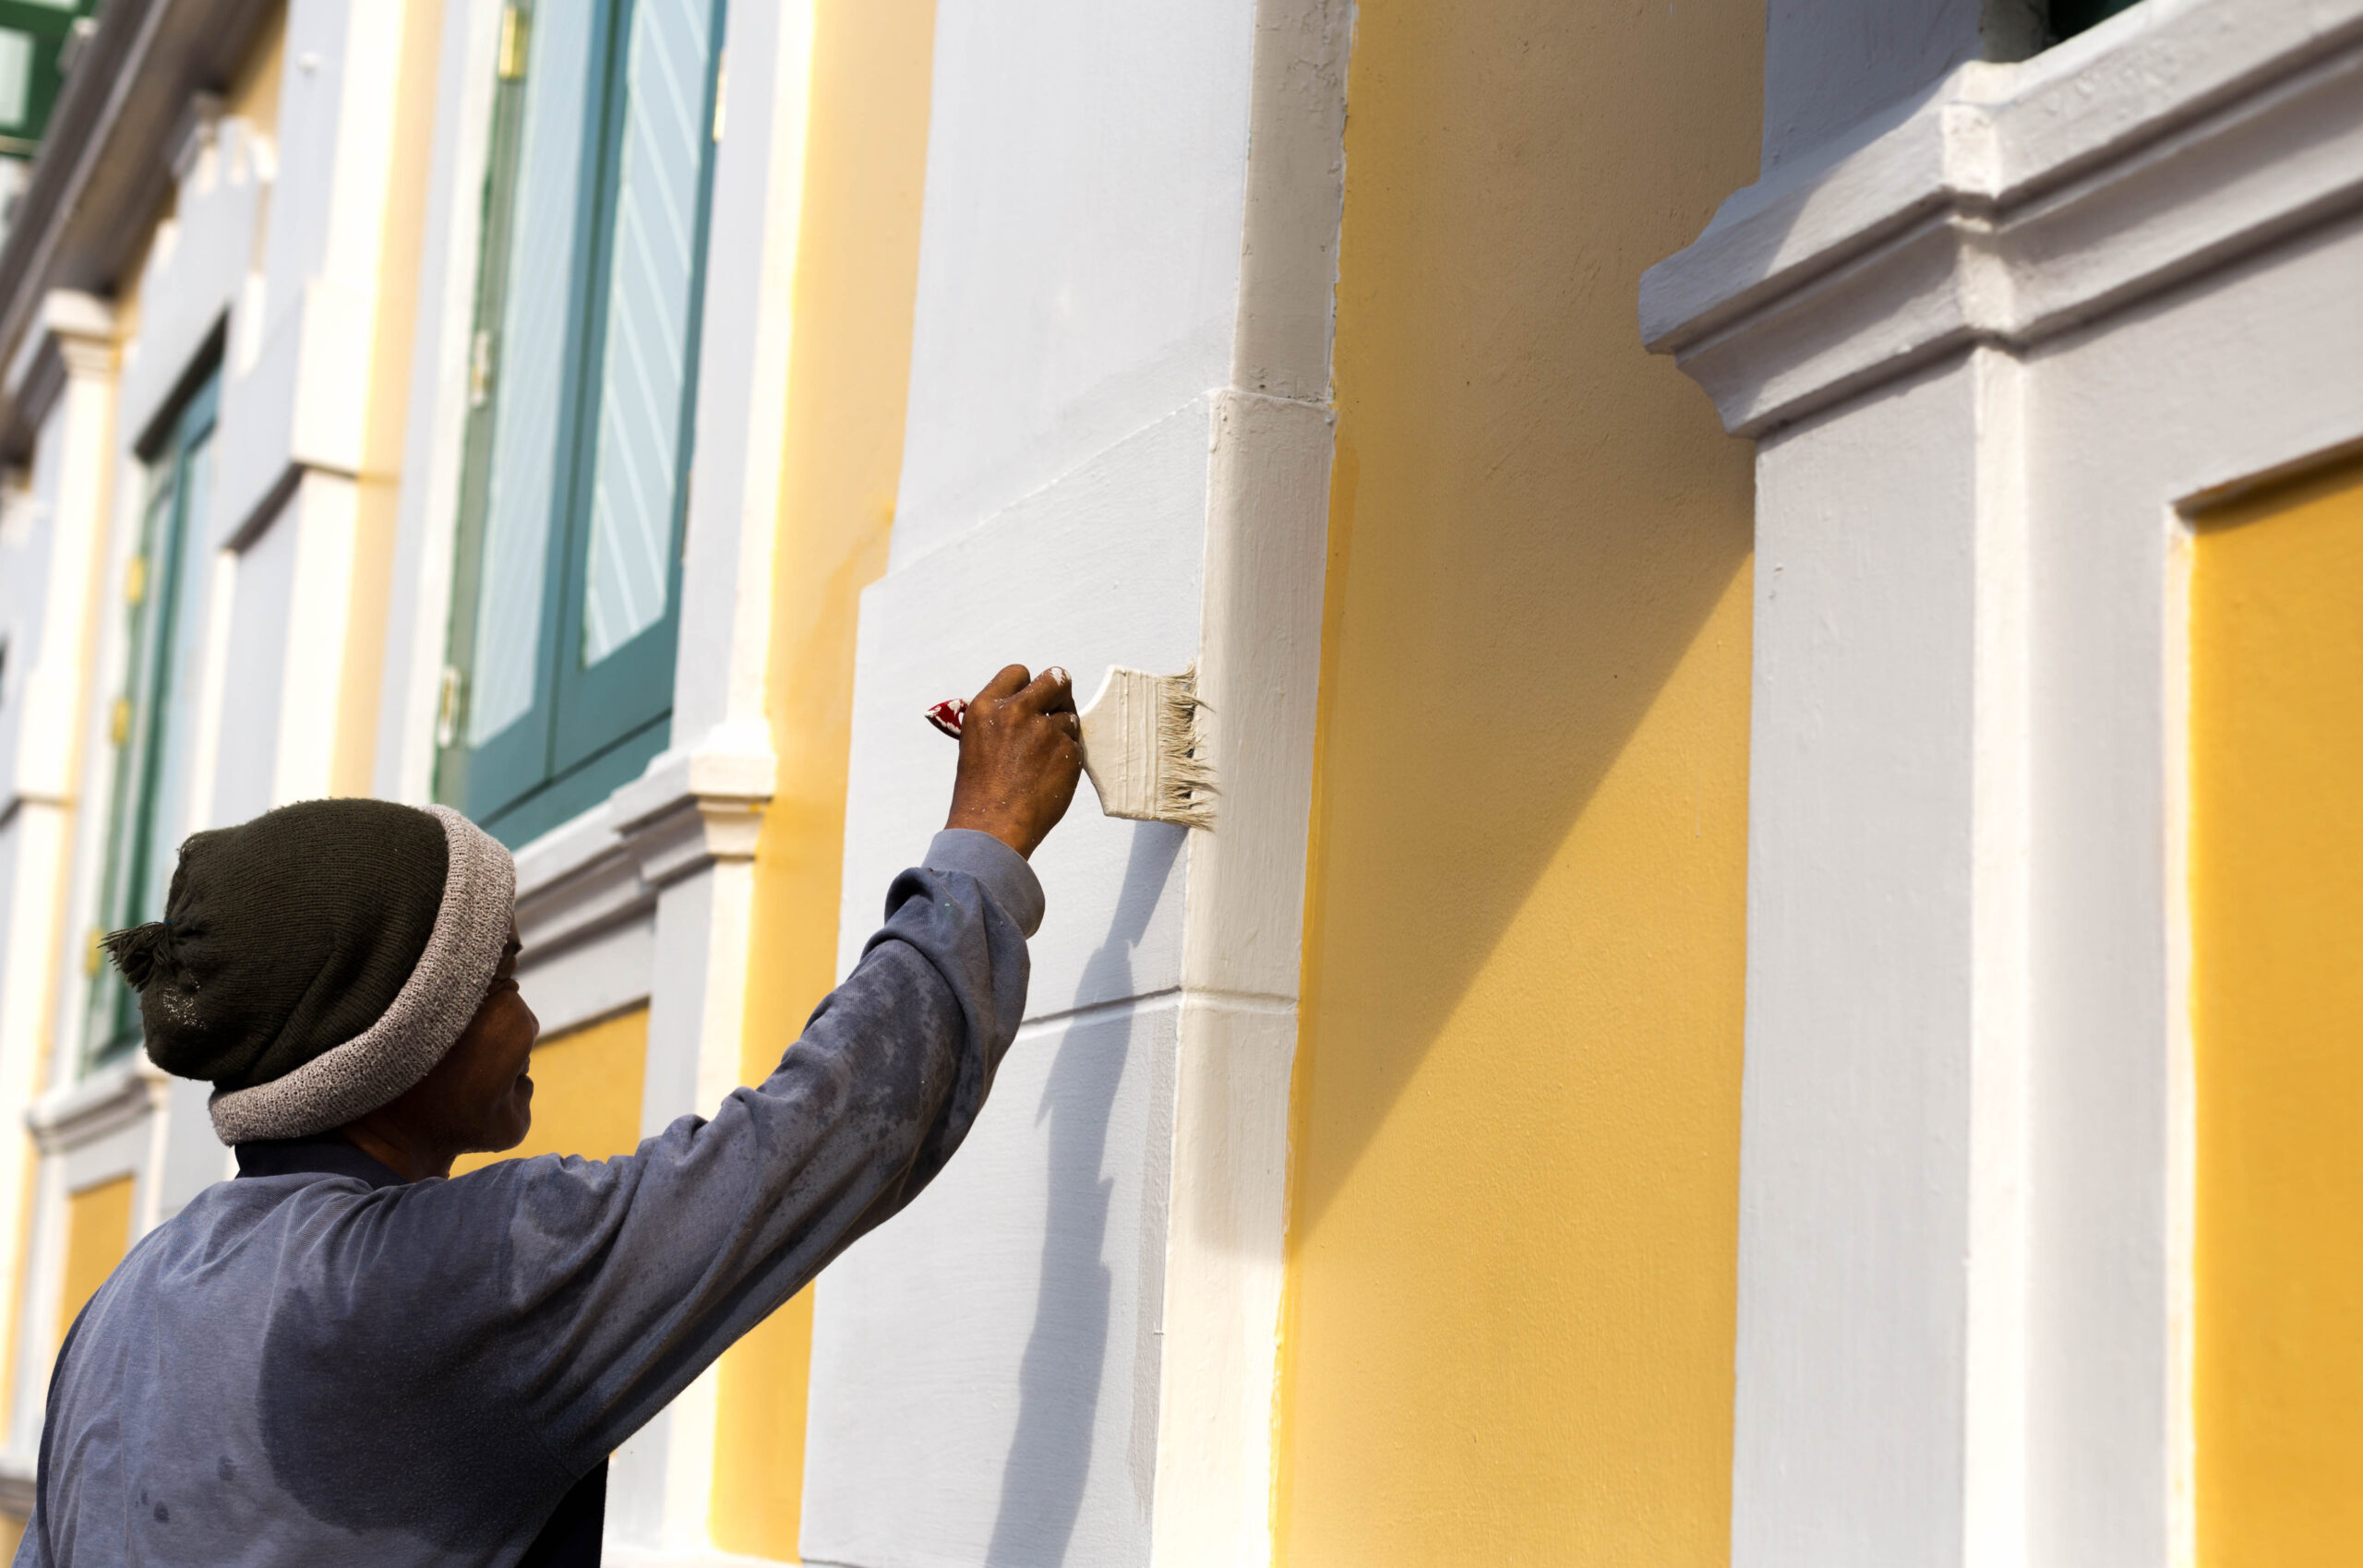
- Apply the Paint: Using a clean, angled brush, apply the paint in long, smooth strokes. Start at the top and work your way down to avoid drips. Be sure to paint in the direction of the wood grain for a smooth finish.
- Second Coat: Once the first coat is dry, lightly sand the surface to remove any imperfections. Apply a second coat of paint for optimal coverage and durability.
- Remove Painter’s Tape: Before the second coat is completely dry, carefully remove the painter’s tape to avoid peeling paint. Touch up any areas as needed.
Step 5: Clean Up
After painting, proper cleanup is essential:
- Clean Brushes: Wash your brushes with soap and water (or paint thinner if using oil-based paint) immediately after use.
- Dispose of Materials: Properly dispose of used paint, primer, and cleaning materials according to local regulations.
- Inspect the Trim: Once the paint is completely dry, inspect the trim for any missed spots or imperfections and touch up as necessary.
Tips for Success
- Weather Conditions: Choose a dry day with mild temperatures for painting. Avoid painting in direct sunlight or during wet, windy conditions.
- Safety First: Use a sturdy ladder and wear safety goggles and gloves to protect yourself.
- Maintenance: Regularly inspect and touch up your trim to keep it looking fresh and prevent damage.
Trust the Pros
Painting exterior trim can be a time-consuming and meticulous task. If you’d rather leave it to the professionals, Double Diamond Painting Pros is here to help. Our experienced team delivers flawless results, ensuring your home looks its best for years to come. Contact us today for a free estimate and let us take care of your exterior painting needs.


